Setup
Basic web-based Setup
To set up the basic parameters of your station, please open a webbrowser of your choice and navigate the hostname/ip-address of your station in your network. Please use http protocol, e.g. like this:
http://192.0.2.42 or http://2001:db8::42
Please mind, that you will need to access the site in unencrypted http. If you can’t access the page, your browser might have swapped it silently for https, which is on another port. At the time of writing, station configuration can only be done with http on port 80. The config wizard web-page is unrestricted and unencrypted. Everyone with access to it can configure your station and read its settings. Your configuration may contain sensitive data like API tokens etc. Please expose your station only within your local network or protect access to it with a firewall.
Warning
If you were able to convince your browser not to switch to https, you should see a page very similar to this one:
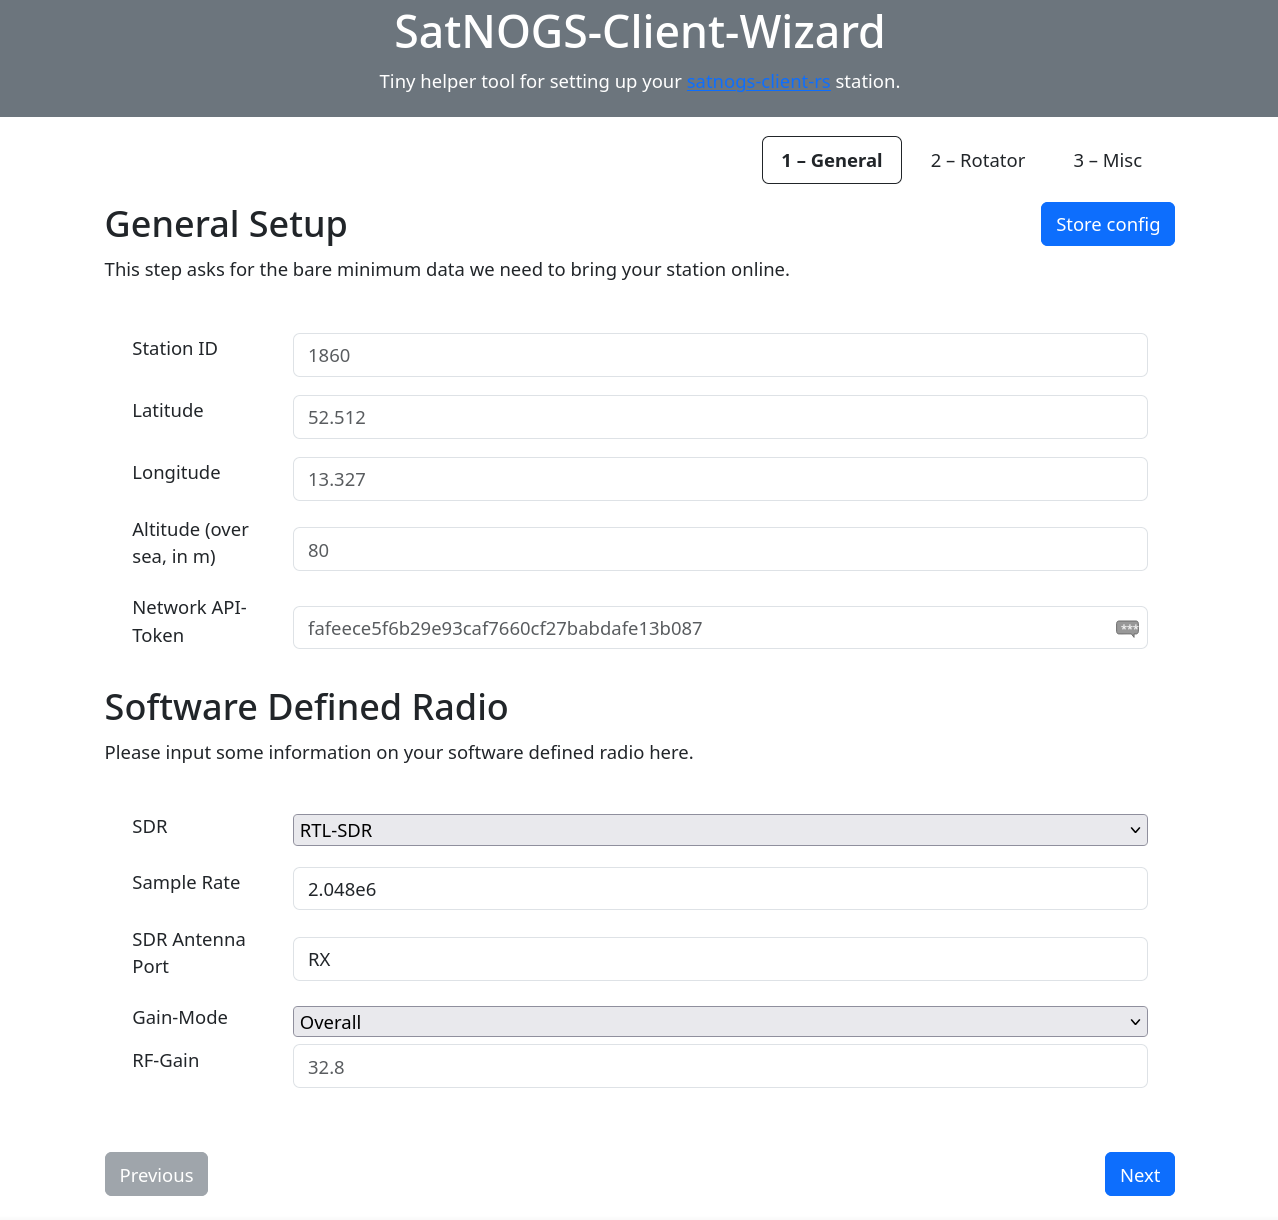 Example view of the wizard web app.
Please pay close attention to the given example vales for each field. Especially for numbers it makes a difference, whether you input integers like 1, 2, 3 or decimal numbers like 1.5, 2.7 or 3.0. The form itself tries to do its best in validating your inputs, but the stations server has the last word though. If it has problems with your input, it will let you know via the popup you see, once you pressed the Store config button.
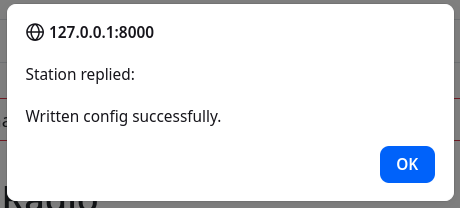 Successful station configuration.
Currently, the web configuration wizard does not cover all configuration options of your station! For full control over all aspects, please check out the config files at The web app is built in responsive design. It should™ work seamlessly to configure your station from any mobile device you have at hand, be it a tablet or a smartphone./etc/satnogs-client-rs/.
Tip
Advanced Station Configuration: Working with Files
At /etc/satnogs-client-rs/ you can see two files. A defaults.toml, which holds standard values for any configuration option the station has and config.toml, which overrides some of those values. The latter one gets overwritten by the web config wizard every time, you store the config.
If you plan on creating a toml-configuration from scratch, I recommend to copy the Please try not to modify values in the defaults.toml to config.toml and leave out any option, that you don’t plan to modify. That way, you can get tiny comprehensible configuration files.
Note
defaults.toml. This might result in very strange bugs that are hard to catch.
This is an example of a minimal station configuration:
For a (hopefully complete) list of configuration options, please check the Internals section.